Connecting a plasma monitor to your computer can enhance your visual experience, especially for watching movies, playing games, or even boosting your productivity with a multi-monitor setup. This guide will provide a detailed step-by-step approach to successfully connect a plasma monitor to your computer, including the necessary hardware components, software configurations, and troubleshooting tips.
Types of Connections
There are several types of connections you can use to connect a plasma monitor to a computer. Each has its own advantages and compatibility considerations. Here’s a summary:
| Connection Type | Description | Compatibility |
|---|---|---|
| HDMI | High-Definition Multimedia Interface; delivers both audio and video signals. | Most modern computers and plasma monitors. |
| VGA | Video Graphics Array; primarily for video signals. | Older computers and plasma monitors. |
| DVI | Digital Visual Interface; primarily for video signals, better quality than VGA. | Many older and some newer computers and monitors. |
| DisplayPort | High-quality digital interface for video and audio. | High-end computers and monitors. |
| USB-C | Versatile connection that can transmit video, audio, data, and power. | Modern laptops and monitors. |
Step-by-Step Guide
1. Check Your Ports
Before you begin, check the available ports on both your computer and your plasma monitor. This will help you determine the type of cable and adapters you will need.
2. Get the Required Cables and Adapters
- HDMI Cable: For most modern setups, an HDMI cable will suffice.
- VGA Cable: Use this if both your computer and monitor have VGA ports.
- DVI Cable: This is a good alternative if both devices support DVI.
- DisplayPort Cable: Ideal for high-quality video and audio.
- USB-C to HDMI Adapter: Useful for laptops and monitors with USB-C.
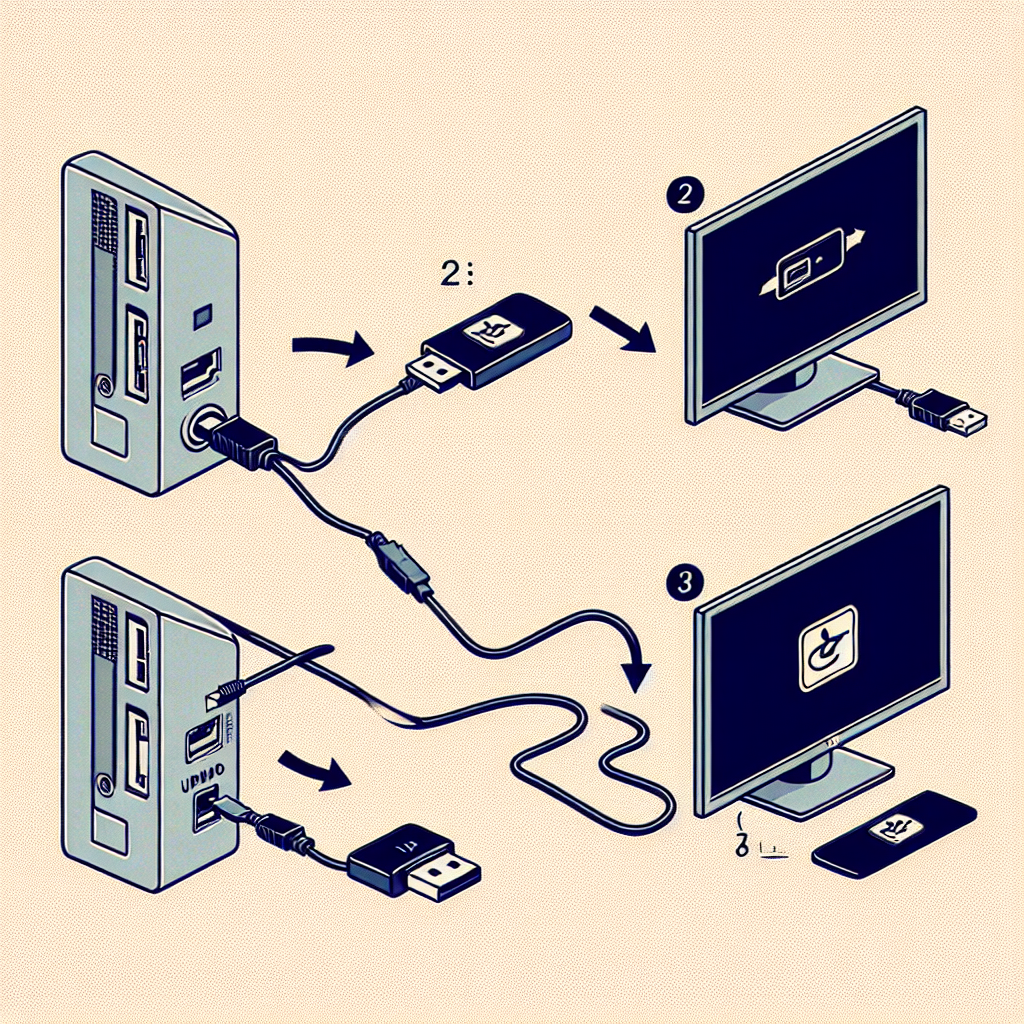
3. Connect the Cable
Plug one end of the chosen cable into the appropriate port on your computer and the other end into the corresponding port on the plasma monitor. Make sure connections are secure.
4. Power On and Select Input
Turn on your plasma monitor and use the remote control or the on-screen menu to select the correct input source (e.g., HDMI1, VGA, etc.).
5. Configure the Display Settings
After establishing a connection, you may need to configure the display settings on your computer:
Windows:
- Right-click on the desktop and select ‘Display settings’.
- Select ‘Detect’ if the monitor is not automatically detected.
- Choose the appropriate display mode (duplicate, extend, second screen only).
Mac:
- Go to ‘System Preferences’ and click ‘Displays’.
- Click on the ‘Arrangement’ tab to configure your display setup.
Troubleshooting Tips
No Signal
- Ensure all cables are securely connected.
- Make sure the monitor is on the correct input source.
- Try using a different cable or port.
Resolution Issues
- Check if the monitor and computer support the chosen resolution.
- Update your graphics card drivers.
- Manually adjust the resolution in your display settings.
Flickering or Distorted Image
- Ensure the cable is in good condition.
- Reduce the screen refresh rate to a compatible setting.
- Move electronic devices that might cause interference away from the monitor.
Frequently Asked Questions
Can I use a USB to HDMI adapter?
Yes, you can use a USB to HDMI adapter if your computer does not have an HDMI port. This can transmit both video and audio signals.
What should I do if my monitor is not detected?
Double-check all connections and ensure your monitor is turned on. You can also restart your computer and try ‘Detect’ in the display settings.
Is it possible to use multiple monitors?
Yes, most modern computers support multiple monitors. You can configure this in your computer’s display settings.
Conclusion
Connecting a plasma monitor to your computer can significantly enhance your computing experience. By following the correct steps and using the appropriate hardware, you can easily establish a connection. If you encounter any issues, refer to the troubleshooting tips provided to resolve common problems swiftly.